
Acrylic Risers for Anime Figures: When to Use Them and How to Size Them
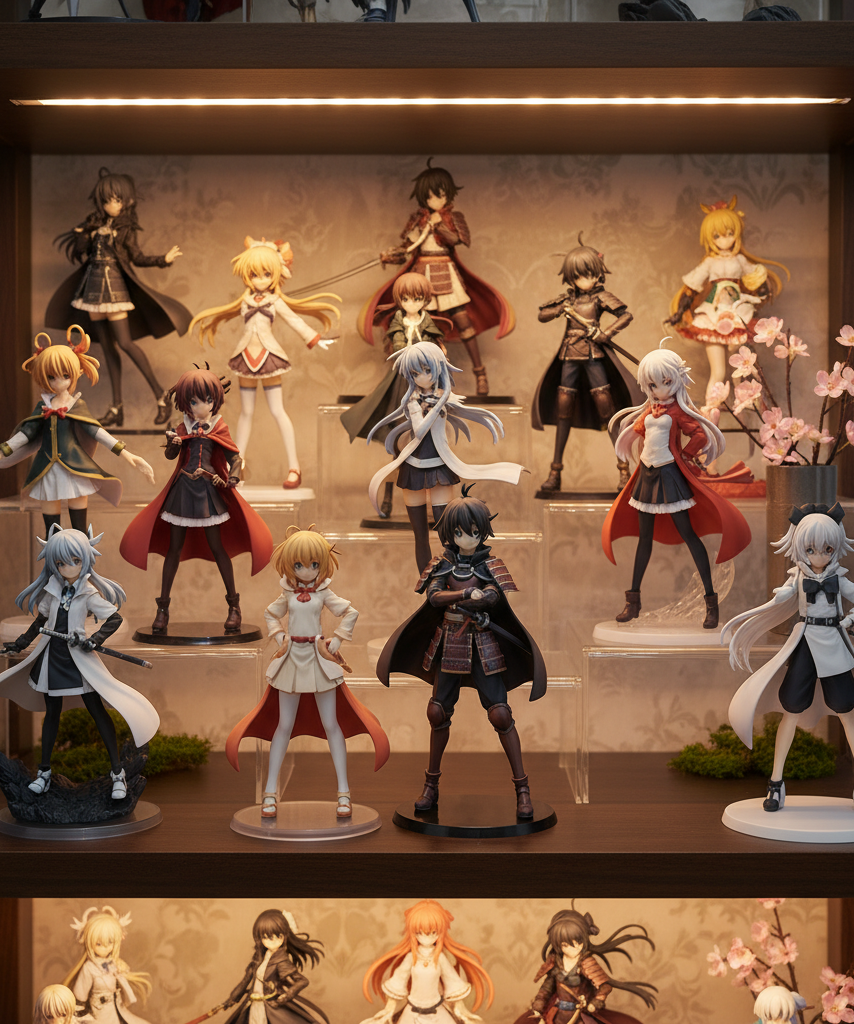
If your anime figure shelf looks flat, crowded, or weirdly hard to read from the front, the problem is often not the figures themselves. It is the height layout. When figures of similar size sit directly on the same shelf plane, back-row pieces disappear, smaller characters get swallowed up, and even expensive scales can lose their impact. That is exactly where anime figure risers help.
The short answer is this: acrylic risers work best when you need to lift a second row, spotlight a smaller figure, or create cleaner height variation without rebuilding the entire shelf. For most collectors, a useful starting size is 2 to 4 inches tall, 4 to 8 inches wide, and 4 to 6 inches deep, but the right dimensions depend on the base size of the figure, the depth of the shelf, and how many display layers you are trying to create.
This guide explains what acrylic risers for anime figures actually fix, how to choose riser height, width, and depth, and when risers improve a shelf versus when they just make it look busier.
What Risers Fix in a Crowded Anime Figure Display
Collectors usually buy risers for one reason and keep using them for another. The obvious reason is visibility. The less obvious reason is that risers help the entire shelf read more clearly.
Without risers, crowded displays often run into the same problems:
- back-row figures are hidden behind larger bases or taller hair sculpts
- small prize figures vanish next to 1/7 or 1/6 scale pieces
- every figure sits on the same visual line, so the shelf feels flat
- empty vertical space goes unused while the horizontal surface feels full
- lighting hits the front row well but leaves the rear row visually dead
That is why anime figure display risers are often more useful on medium-density shelves than on almost-empty ones. For shoppers exploring this further, see 1/6 scale figures. A riser lets you use vertical separation instead of forcing every figure to fight for the same front edge.
In practical terms, risers are best when a shelf has enough depth for layering but not enough width for a single neat row. If you are already thinking through front-to-back fit, our guide on <a href=”https://shelffigure.com/how-deep-should-a-shelf-be-for-anime-figures-a-size-planning-guide/”>how deep a shelf should be for anime figures</a> pairs naturally with riser planning because a riser only helps if the shelf still leaves safe front clearance.
Quick Answer: Best Starting Sizes for Figure Shelf Risers
If you want a fast baseline before buying anything, use this table.
| Use case | Suggested riser height | Suggested top width | Suggested depth | Why it works |
|---|---|---|---|---|
| Small prize or trading figures in back row | 2 to 3 in | 4 to 6 in | 4 to 5 in | Enough lift without making the rear figure look detached |
| Standard prize figures on mixed shelves | 3 in | 5 to 7 in | 5 to 6 in | Good visibility boost for average bases |
| 1/8 or compact 1/7 scale figures | 3 to 4 in | 6 to 8 in | 5 to 6 in | Creates clean overlap separation |
| Accent riser for one spotlight figure | 1 to 2 in | base width + 1 to 2 in | base depth + 1 in | Adds focus without making the shelf feel tiered |
| Multi-step riser set for dense displays | 2, 3, and 4 in mix | varies | 4 to 6 in | Helps stagger several figure heights naturally |
These are display-planning ranges, not universal rules. For shoppers exploring this further, see 1/7 scale figures. The safest sizing rule is simple: the top surface of the riser should usually be at least 0.5 to 1 inch wider than the figure base on each supported side, and the figure should still sit far enough from the shelf edge to look stable.
How to Choose Riser Height, Width, and Depth
The biggest mistake collectors make is choosing risers by guesswork instead of by base footprint and sightline.
Height: Usually 2 to 4 Inches Is the Sweet Spot
Most shelves do not need dramatic elevation. They need enough lift so the rear figure clears the head, shoulders, or effect parts of the front figure.
A good rule of thumb:
- 1 to 2 inches for a subtle spotlight effect
- 2 to 3 inches for small or medium figures in a second row
- 3 to 4 inches for mixed-scale displays where the front row is taller
- more than 4 inches only when the shelf is tall enough and the rear piece still feels visually connected to the rest of the display
If the riser is too short, it does not solve the visibility problem. If it is too tall, the rear figure can start looking like it is on a stage instead of part of the same shelf composition.
Width: Match the Base, Then Add Stability Margin
For figure shelf risers, width matters more than many buyers expect. If the figure base nearly matches the riser top, the setup may technically stand but still feel unsafe.
A practical width rule is:
- measure the widest part of the figure base that will sit on the riser
- add 1 to 2 inches total for smaller figures
- add 2 inches or more total for wider premium bases or figures with off-center weight
That extra margin helps both stability and looks. A base with a little breathing room feels intentional. A base hanging close to the edges feels temporary.
Depth: Leave Front and Rear Clearance
Depth is where many riser purchases go wrong. A riser can fit the figure but still waste shelf space if it is too deep for the shelf itself.
In most setups, 4 to 6 inches of riser depth works because it lifts the rear figure without pushing it too far forward. Larger figures may need more, but once a riser gets deep, it starts stealing useful shelf depth from the front row.
When sizing depth, leave room for:
- the front row figure and its base
- at least some gap between front and rear silhouettes
- safe front clearance at the shelf edge
- any hair, cape, or weapon detail extending behind the raised figure
If the shelf is shallow to begin with, a large riser can make the whole arrangement worse rather than better.
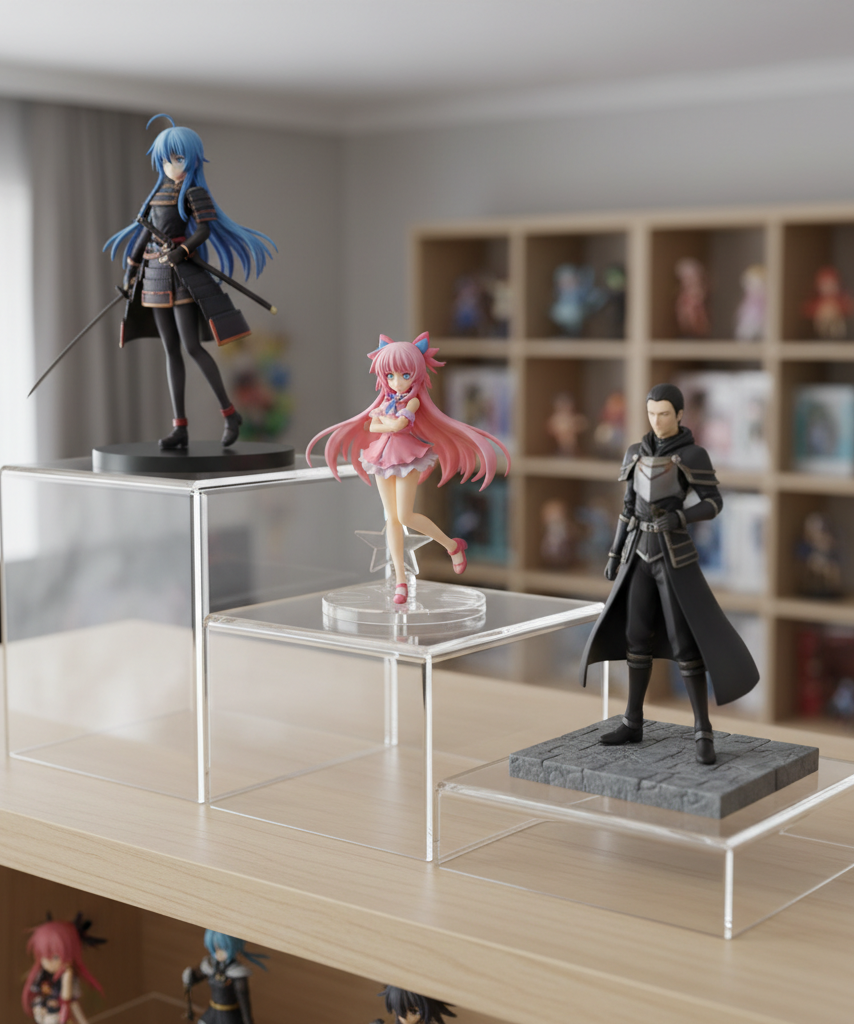
Best Use Cases for Acrylic Risers
Not every shelf needs risers, but some display situations benefit from them immediately.
Back-Row Visibility on Deeper Shelves
This is the classic use case. If your shelf is deep enough for two rows, the rear row usually needs a height lift or it disappears. Risers help the back row clear the front row without forcing you to cram everything against the rear wall.
This works especially well for:
- prize figure collections with similar character heights
- mixed rows where shorter characters sit behind larger front pieces
- cabinet shelves where the eye line is naturally lower than the back row
Small Figures Mixed With Larger Scales
If you collect both prize figures and 1/7 scales, smaller pieces can look visually lost. A modest riser helps compact figures read at the same glance level without pretending they are the same physical size.
This is often more elegant than putting every small figure at the very front edge. Instead of flattening the lineup, you build a cleaner height rhythm.
Creating a Focal Point Without Rebuilding the Shelf
A single low acrylic riser can turn one centerpiece into the anchor of a shelf. That is useful when you want one figure to read first without changing the rest of the layout.
This works best when:
- the riser is subtle
- the centerpiece already has strong sculpt presence
- the rest of the shelf remains lower and cleaner around it
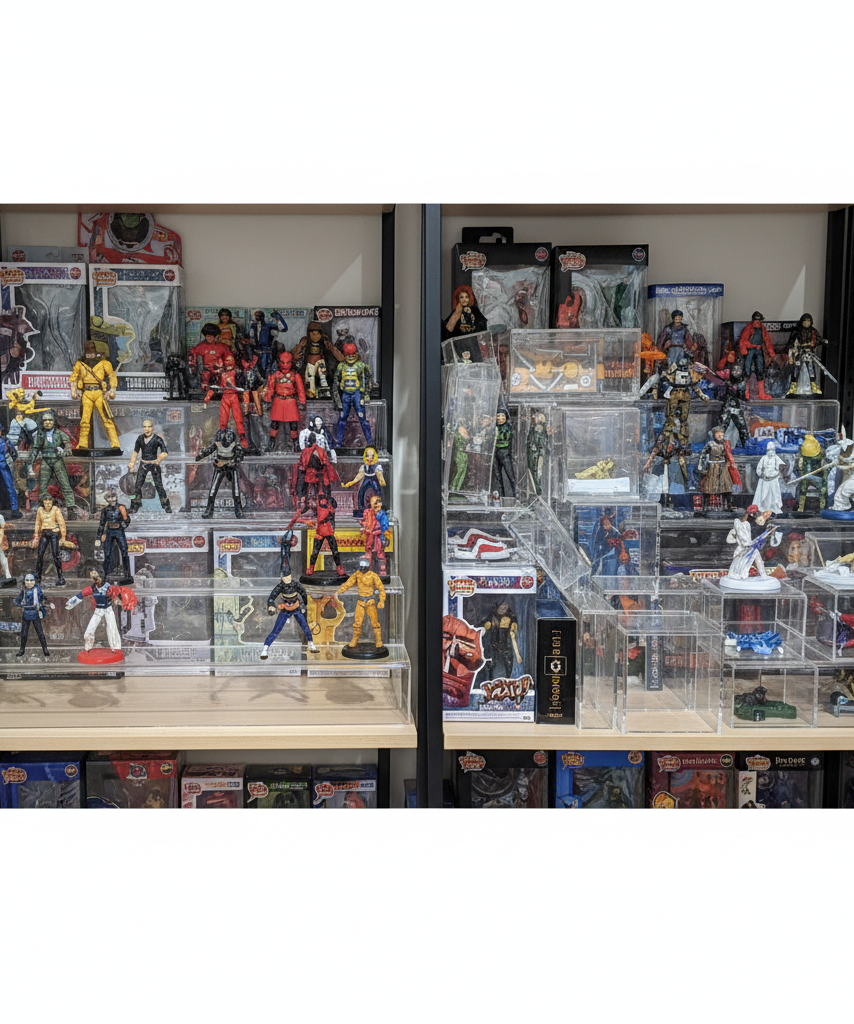
Adding Structure to Dense Detolf or Cabinet Shelves
Enclosed shelves often have good visibility from the front but limited room to rearrange side-to-side. A riser lets you use vertical layering to reduce silhouette collision, which can make a packed shelf feel more curated.
When Risers Make a Display Look Worse
Risers are helpful, but they are easy to overuse.
Too Many Heights Create Visual Noise
If every figure is on a different riser height, the shelf can start looking jittery. Instead of guiding the eye, the height changes compete with each other.
A cleaner approach is to repeat a few height levels consistently, such as:
- front row on shelf surface
- second row on 2 to 3 inch risers
- one accent piece on a slightly different height only if needed
Oversized Risers Make Small Shelves Feel Heavy
Acrylic is visually lighter than wood or metal, but it is not invisible. Thick, boxy risers can dominate a small shelf and make the display feel more like stacked storage than a figure arrangement. For shoppers exploring this further, see anime figure stands vs risers.
If the riser footprint is large relative to the shelf, it can also reduce negative space and make the whole setup feel crowded faster.
High Risers Can Break the Shelf Composition
A rear figure that sits far above everything else may become distracting instead of helpful. That is especially true when the figure is not meant to be a centerpiece.
When a riser starts making a figure look detached from the rest of the shelf, it is usually too tall for that layout.
Cheap Acrylic Can Hurt the Look
Cloudy plastic, rough edges, or visibly flimsy panels make a display feel cheaper than clear polished acrylic does. If the goal is a cleaner premium shelf, material clarity matters.
How to Combine Risers With Shelf Depth and Lighting
Risers work best as part of a larger shelf plan, not as a fix for every display problem.
Pair Risers With Real Shelf Depth
A riser does not create depth. It only helps you use existing depth better. If the shelf is too shallow, the rear row may still feel unsafe or cramped after adding a riser.
That is why deep shelves usually respond better to risers than narrow ledges do. On a proper cabinet shelf or a 10- to 14-inch display shelf, risers often create a clear second viewing layer. For shoppers exploring this further, see display cases. On shallow shelving, they can just push the front row into a tighter position.
Use Lighting to Support the Height Change
One reason raised figures look good is that they catch more light. If your LEDs point only downward at the front edge, the back row may still look dim even after lifting it.
Risers work especially well when lighting also improves the rear sightline. For example:
- top-front LED strips for general illumination
- side lighting to reveal faces in the back row
- modest riser height so raised figures catch light without casting harsh shadows on smaller figures below
Leave Enough Visual Breathing Room
Even a well-sized riser will not rescue an overloaded shelf. If every figure overlaps heavily, the display still reads as crowded.
Risers are most effective when they create separation, not when they simply allow you to add more items than the shelf wants to hold. For shoppers exploring this further, see arrange large figures without blocking smaller ones.
A Simple Sizing Formula for Acrylic Risers for Anime Figures
If you want a quick way to choose a riser without overthinking it, use this process:
1. Measure the figure base width and depth. 2. Add 1 to 2 inches to the riser top width. 3. Add about 1 inch to the riser depth if the shelf can spare it. 4. Choose the smallest height that clears the front-row silhouette from your normal viewing angle. 5. Re-check that the raised figure still has safe front and rear clearance on the shelf.
That formula will not replace judgment, but it avoids the most common mistake: buying a riser that technically fits the figure while ignoring how it fits the shelf.
Final Answer: When Should You Use Anime Figure Risers?
Use acrylic risers for anime figures when you need better back-row visibility, want to help smaller figures read cleanly on a mixed-scale shelf, or need a subtle way to create height variation without rebuilding the entire display. For many collectors, the most useful sizes fall in the 2 to 4 inch height range with enough top width and depth to support the base comfortably.
The best riser is not the tallest one or the one that lets you cram in the most figures. It is the one that solves a visibility problem while keeping the shelf stable, readable, and visually calm. If a riser improves sightlines and spacing, use it. If it only makes the shelf busier, skip it.
Comments